


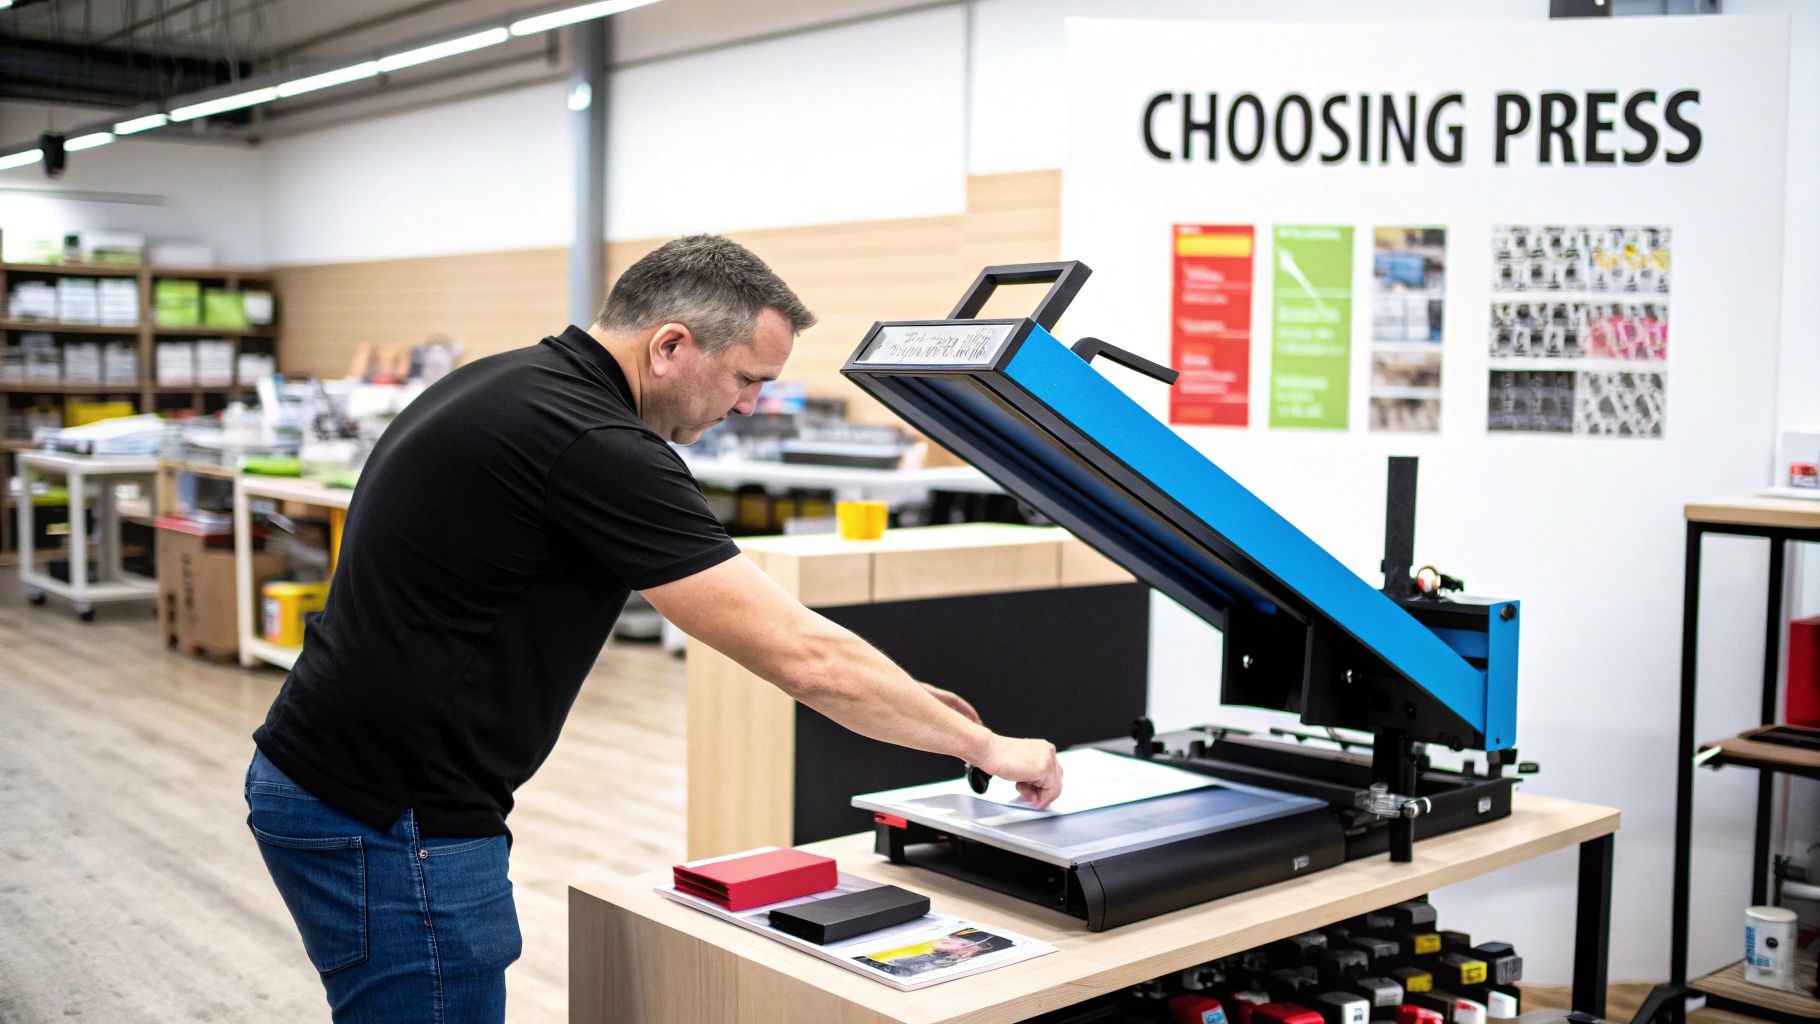
Getting your heat press settings for sublimation just right is where the magic really happens. It’s the make-or-break moment that separates a vibrant masterpiece from a blurry, faded mess.
Honestly, for most things you'll press, the sweet spot is somewhere between 380°F and 400°F, with a press time of 40 to 60 seconds and good, firm pressure. Dialing in these three variables—time, temperature, and pressure—is the secret sauce to getting those jaw-dropping, professional prints every single time.
Your Cheat Sheet For Perfect Sublimation Settings
Let's cut through the guesswork. Wasting expensive blanks is no fun, so think of this as your launchpad for avoiding those classic beginner mistakes. As a BBB Accredited business, we've built our reputation on quality and precision. After years of making top-notch custom gear for corporate clients, credit unions, banks, and sports teams, I can tell you one thing for sure: consistency is king. And it all starts with knowing your numbers.
The holy trinity of sublimation is temperature, time, and pressure. Each one has a crucial job to do, working together to transform solid ink into a gas that becomes one with your substrate. If even one of these is out of whack, the whole process falls apart.
For example, most polyester fabrics—the bread and butter of sublimation apparel—love a temperature between 380°F to 400°F for about 40 to 60 seconds with medium pressure.
Sublimation Heat Press Settings Cheat Sheet
To give you a running start, here's a little cheat sheet I've put together with the go-to settings for some of the most popular items. These are your starting line, not the finish line!
Think of these numbers as a trusted baseline. Your specific heat press, the brand of your blanks, and even the humidity in your room can tweak the results. I can't stress this enough: always do a test press on a scrap piece if you can. It saves so much heartache later. For a deeper dive into the science behind it, this essential heat press temperature guide is a fantastic resource.
| Substrate | Temperature (°F) | Time (Seconds) | Pressure |
|---|---|---|---|
| Tumblers & Drinkware | 360°F - 380°F | 50 - 70 | Medium |
| Polyester Apparel | 385°F - 400°F | 45 - 60 | Medium |
| Ceramic Mugs | 380°F - 400°F | 180 - 240 | Firm |
| Coasters (Hardboard) | 385°F - 400°F | 60 - 80 | Medium-Firm |
After you get a few projects under your belt, you'll start to develop a sixth sense for what works. Until then, let this table be your guide.
Pro Tip: Your gear makes a huge difference. A convection oven is going to need different settings than a dedicated mug press. If you're using a mug press with a specialized sublimation mug wrap, you'll get fantastic, consistent results, but you have to follow the rules for that specific setup. Always start with the manufacturer's recommendations for your blank and adjust from there.
The Magic Behind The Numbers: Time, Temp, and Pressure
Have you ever wondered why that trusty 400°F for 60 seconds recipe is so common? It’s not just some random number someone pulled out of a hat. There's some pretty cool science at play here.
Sublimation is a fascinating process where a solid—your ink—bypasses the liquid stage and transforms directly into a gas. Your heat press is the catalyst, providing the jolt of energy needed for this transformation.
When you lock down that press, the heat and pressure work in tandem to vaporize the solid ink on your transfer paper. This gaseous ink then zips across and molecularly bonds with the polyester fibers or the special polymer coating on your blank. Once it cools, it turns back into a solid, but now it’s permanently embedded inside the material. It's not sitting on top; it's part of the item itself.
The Great Balancing Act
Think of your heat press settings—time, temperature, and pressure—as a three-legged stool. If one leg is off, the whole thing comes crashing down. Nailing the right heat press settings for sublimation is all about finding that perfect harmony for whatever you're pressing.
- Temperature Too Low? The ink won't fully vaporize. You’ll end up with a sad, faded-looking print because not enough ink made the trip from the paper to the product.
- Temperature Too High? You're entering the scorch zone. This can cause the ink to bleed, resulting in a blurry mess, or you might see the colors shift to an ugly brownish hue.
- Time Too Short? Just like with low temp, the ink simply doesn't get enough time to do its thing. The result is another lackluster, pale design.
- Time Too Long? This is a one-way ticket to ruining your blank. You risk burning the item, which often shows up as that dreaded yellowing effect, especially on white fabrics.
The industry standard of 400°F for 45 to 60 seconds is popular for a reason: it's the scientific sweet spot for most common polyester goods. Studies have shown that dropping the temperature can slash color vibrancy by as much as 50%. On the flip side, cranking it too high just destroys your blank.
At 4ULaserWorks, our expertise isn't just in sublimation; we also provide custom laser engraving. We know that a run of engraved tumblers for a corporate client needs a totally different game plan than sublimating jerseys for a local soccer team. Understanding the science behind the settings is what lets us nail it every time.
So, What Does "Medium Pressure" Actually Mean?
Let’s be honest, "medium pressure" is probably the most maddeningly vague instruction in the entire sublimation world. What does that even feel like?
Here’s how I think about it: the pressure should be firm enough that you need to put a little muscle into closing the press, but not so tight that you're wrestling with it. You want solid contact, not a crushed blank.
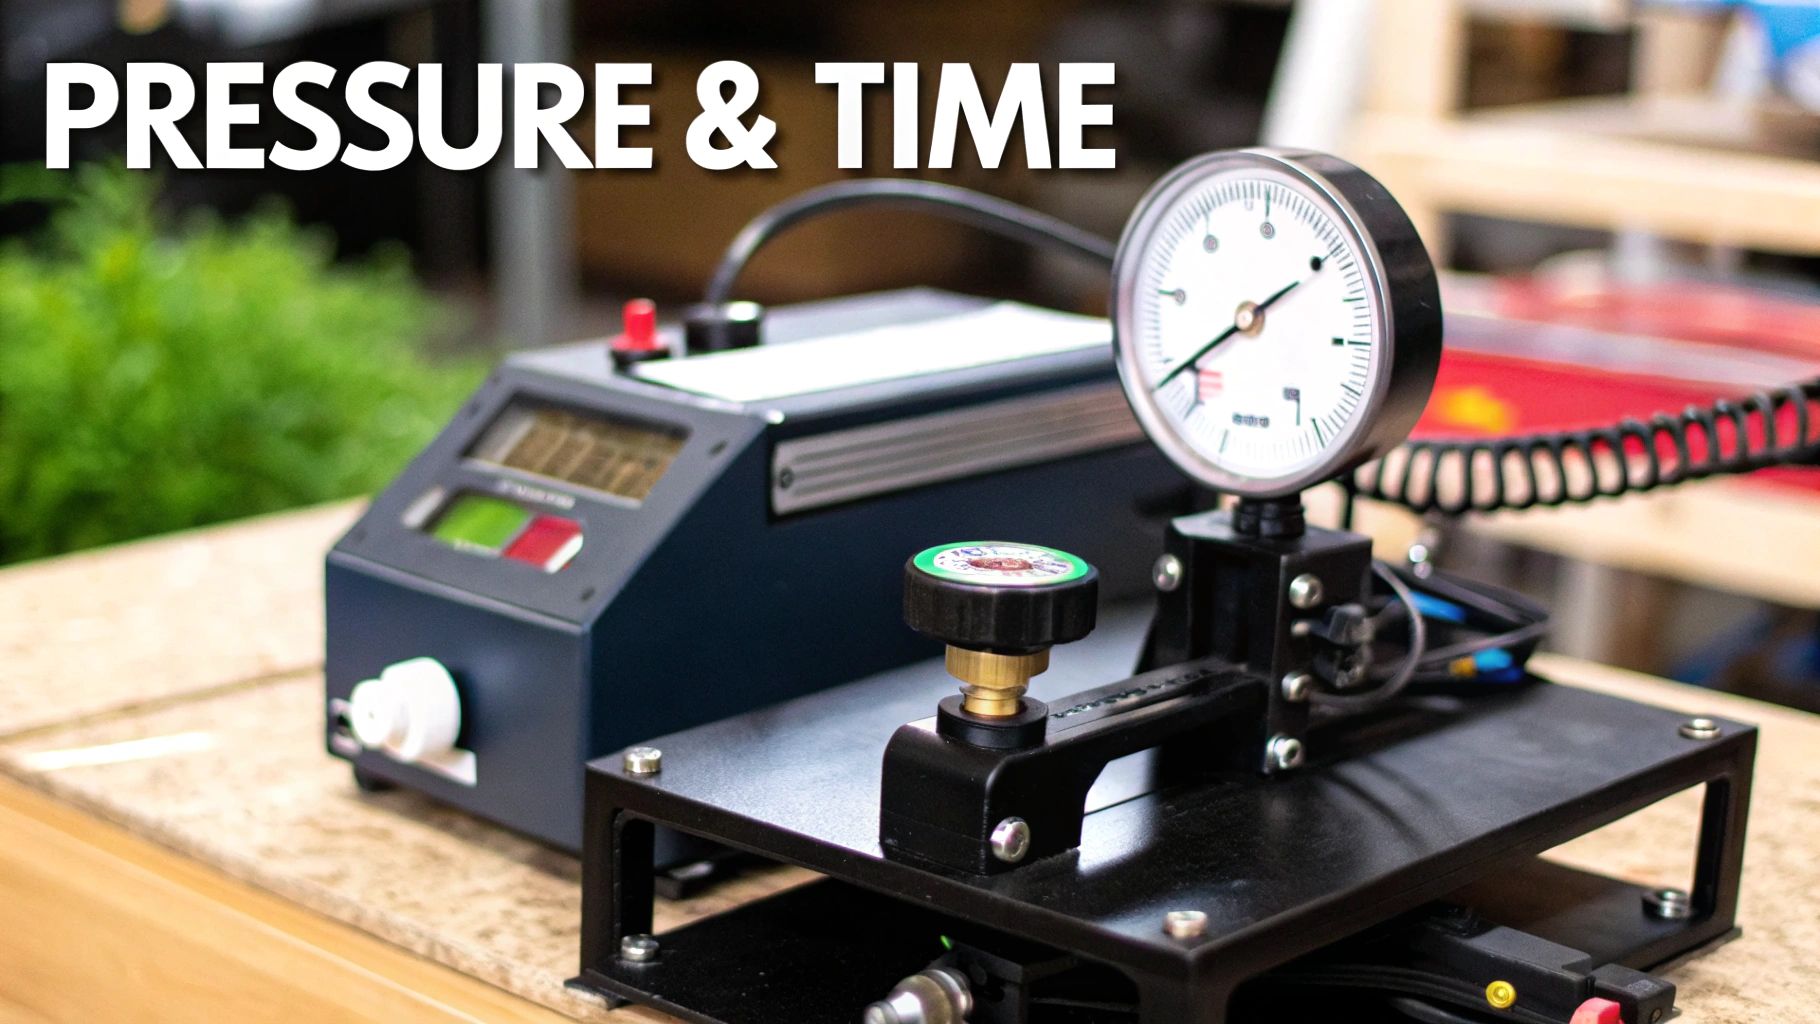
For something like these gloss white hardboard coasters, you need just enough pressure to ensure the paper makes perfect contact across the entire surface without bowing or warping the board. If you have a pressure gauge, a good starting point is often around 40 psi, but over time, you'll learn to trust the "feel" of it more than any number.
How to Dial In Your Settings for Different Materials
Let's get one thing straight: if you think there's a "one size fits all" setting for sublimation, you're in for a world of hurt. The perfect settings that create a jaw-dropping polyester shirt will absolutely scorch a ceramic mug into a blotchy mess. Every material has its own personality, and your job is to learn its language.
Think of it as two different families: hard goods and soft goods. A powder-coated tumbler needs that consistent, hug-it-tight heat to get the ink to bond with its polymer coating. On the flip side, a t-shirt is a bit more forgiving but can easily burn if you get a little too aggressive with the heat. This is where you have to move beyond a generic chart and start thinking like a pro.
The Unforgiving World of Hard Goods
When you’re pressing corporate awards or high-end custom drinkware, there’s no room for error. Hard substrates—think ceramic, metal, and certain woods—have zero give and can be incredibly finicky about moisture and uneven heat.
Take MDF wood blanks, for example. They look innocent enough, but they're basically sponges, holding a surprising amount of moisture. That moisture turns to steam under pressure, and poof—you’ve got a splotchy, uneven disaster. A quick 5-10 second pre-press to dry it out is non-negotiable.
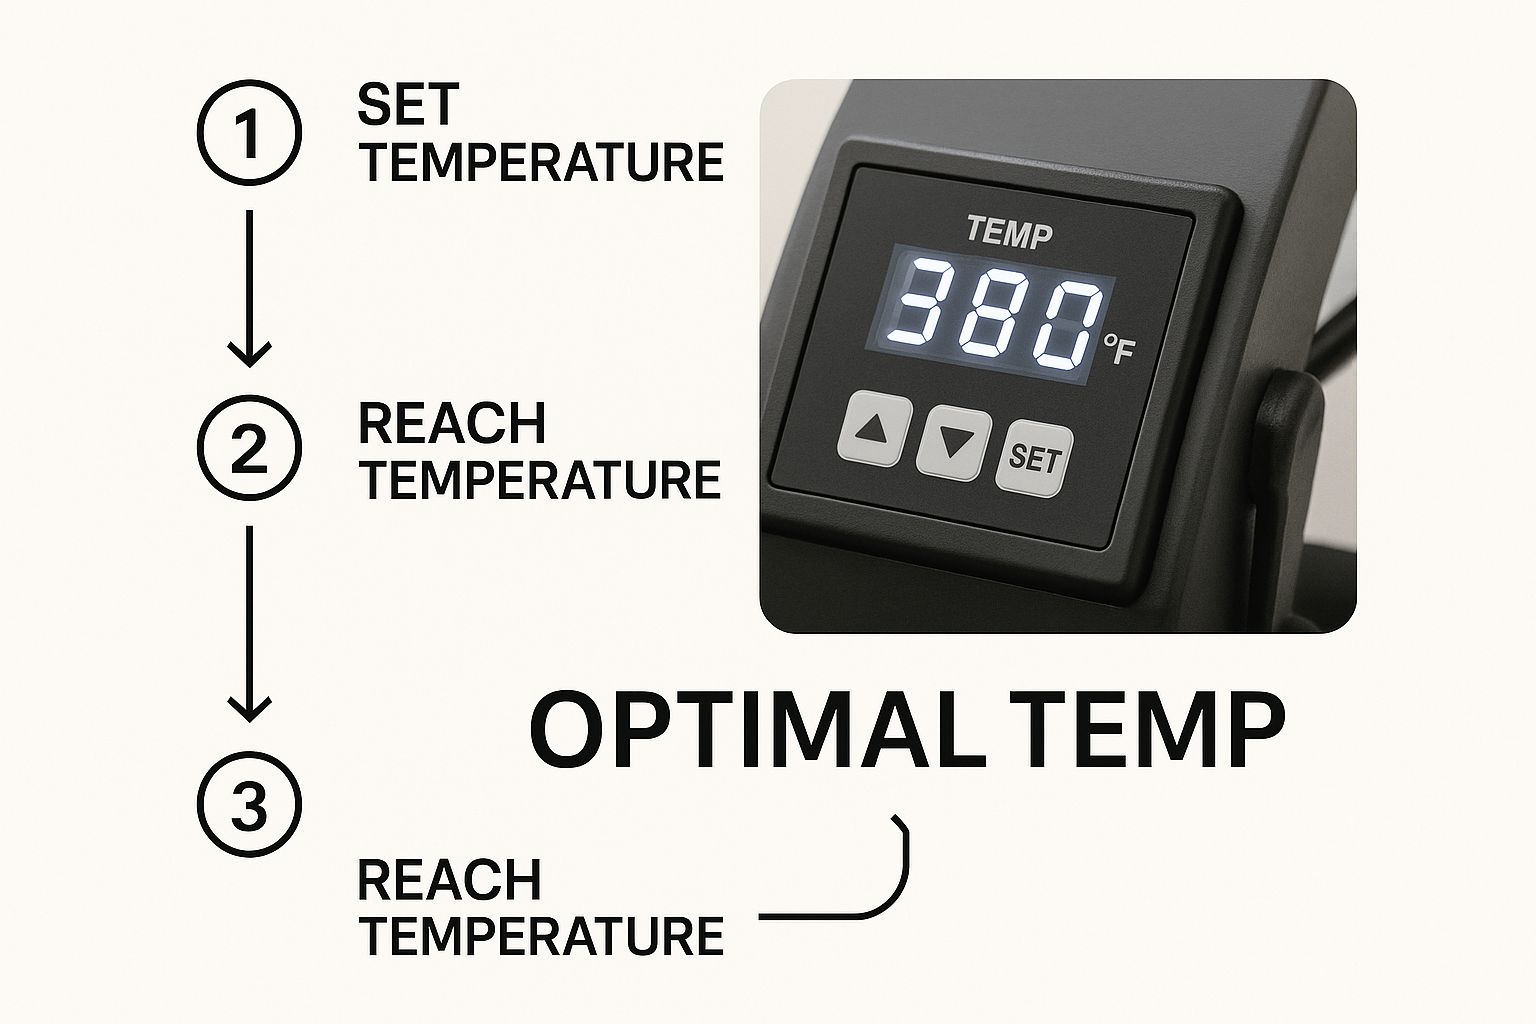
This control panel isn't just for show. Those numbers are your command center for getting professional, repeatable results. They aren't just suggestions; they are the recipe for success.
Smart Strategies for Soft Goods
Fabrics and other squishy items like mousepads are generally easier to work with, but they come with their own set of rules. The name of the game here is managing pressure and dodging those dreaded press marks.
- 100% Polyester Apparel: This is your dream canvas. You'll usually live in the 385°F-400°F range for about 45-60 seconds.
- Polyester Blends (50/50): Perfect for that cool, vintage vibe. You have to back off the heat to around ~375°F to keep from scorching the cotton fibers. The final image will be less vibrant, but that’s the look you’re going for.
- Neoprene (Coasters/Mousepads): This stuff can take the heat, but it has a nasty habit of melting at the edges. Always, and I mean always, use a sheet of protective paper that’s bigger than your transfer.
Modern digital heat presses have made our lives so much easier. The best ones offer crazy-precise temperature control within ±1°F and pressure repeatability of ±1 psi, which dramatically cuts down on "oops" moments. Sticking to proven settings can literally slash your product defects by over 50%. That’s a massive win for your bottom line.
Our Golden Rule: Never, ever press a new type of blank without running a test first. We learned this the hard way. A client ordered a huge batch of ceramic mugs, but our usual supplier was out, so we switched. The new mugs had a slightly thicker coating, and our standard settings left them looking washed out. A single test showed us we needed an extra 15 seconds of press time. That one little test saved the entire order. For reference, our go-to settings for a classic 11 oz white ceramic mug are around 390°F for 180-210 seconds with firm pressure.
Solving Your Biggest Sublimation Nightmares
We've all been there. You open the press, peel away the paper, and that masterpiece you pictured in your head looks more like a blurry, faded, splotchy mess. Ugh. But don't throw it in the bin just yet. Most sublimation mistakes are not only fixable but are also some of the best learning moments you'll have.
The trick is to put on your detective hat. Your failed print is leaving you a trail of breadcrumbs, telling you exactly what went wrong with your heat press settings for sublimation. Once you learn to read the clues, you can pinpoint the culprit and make sure it doesn't happen again.
Got a fuzzy image with bleeding edges? That’s a classic sign of a pressure problem or, more likely, moisture. If your pressure is too light, the paper won't make solid contact with the blank. Even a tiny bit of moisture will turn to steam and blur the whole transfer. This is why you always pre-press your fabrics for a few seconds!
What Your Botched Prints Are Trying to Tell You
Are your deep, rich blacks coming out with a weird brownish hue? That’s a dead giveaway that your heat is too high, literally scorching the ink. If your colors look dull and faded, you've got the opposite issue—not enough heat or not enough time in the press.
And then there's ghosting, that infuriating faint double image. This one's purely a movement issue. If that transfer paper shifts even a millimeter while the blank is hot, you're going to see a ghost. The fix is simple but non-negotiable: always tape your design down securely with heat-resistant tape. For drinkware, using a quality sublimation wrap for stemless tumblers is a game-changer for getting a snug fit that eliminates any wiggle room.
A Lesson from Our Workshop: We once ran a whole batch of coasters that came out with tiny blue freckles all over them. We were stumped until we realized the shop was extra dusty that day. Any little speck of dust or lint will absorb the ink dye and leave a permanent spot. Now, we religiously wipe every blank with an alcohol pad and go over it with a lint roller before it ever touches the press. It’s this attention to detail that our clients, from event planners to Creighton University, for which we are officially licensed, have come to expect.
Think of every failed print as tuition paid to the School of Sublimation. By learning to read these signs, you're not just salvaging a project; you're building the expertise to nail it every single time.
Pro Tips for Nailing That Perfect Press, Every Single Time
So, you've got the basic heat press settings down. That's fantastic. But if you're ready to move from "pretty good" to "absolutely flawless," it's time to talk about the little things that make a huge difference. These are the habits that separate the pros from the hobbyists and build a reputation for top-notch quality.
First up, and I can't stress this enough: always pre-press your garments. Seriously. Just five seconds is all it takes to zap out any hidden moisture and smooth away wrinkles. These two things are the biggest culprits behind splotchy transfers and frustrating ghosting. Skipping this step is just asking for trouble.
Another rookie mistake? Going cheap on your paper. Using flimsy sublimation or butcher paper is a recipe for disaster. Good, thick paper is your best friend—it helps distribute heat evenly and, more importantly, protects your expensive heat press from ink blowouts that can permanently stain the platen.
Don't Blindly Trust Your Gear
Here's a hard truth most people learn the expensive way: your heat press display is probably lying to you. It's not uncommon for the temperature reading to be off by 10-15°F. That's more than enough to completely ruin a perfectly good tumbler or shirt.
Get yourself a decent infrared temperature gun. It's a game-changer. Before a big run, take a few seconds to check multiple spots on your platen. This will reveal any hot or cold spots and tell you the real temperature you're working with. Consistency comes from knowing your true numbers, not just what the screen says.
Finally, remember that your final product is only as good as the art you start with. You can have the most dialed-in settings in the world, but a blurry, low-res image will always look... well, blurry and low-res. If you want to source some fantastic artwork for your next project, you can find tons of high-quality T-shirt graphics to get you started. Starting with a crisp design ensures your final product looks sharp and professional.
Answering Your Burning Sublimation Questions
Alright, let's tackle some of the common head-scratchers that pop up when you're in the thick of a sublimation project. Think of this as the advice I wish I had when I was starting out.
Why Do My Sublimation Colors Look So Dull?
Ugh, the dreaded dull print. It’s one of the most common frustrations, but thankfully, it's usually a simple fix. Nine times out of ten, lackluster colors are a problem with your settings or materials.
The usual suspects are not enough heat, not enough time under pressure, or the wrong amount of pressure. Don't just trust the digital readout on your press, either. I always recommend getting a separate laser temperature gun to see what's really happening on that platen.
Also, double-check your blanks. Sublimation loves polyester, so for the best, most vibrant results, you need a high poly count—ideally 100%. Trying to sub on a 50/50 blend will always look faded and vintage, which might be a look, but it's probably not the one you're going for.
What is "Ghosting" and How Can I Banish It?
Ghosting is that infuriating blurry shadow or faint double image you sometimes get. It’s caused by the transfer paper shifting, even just a millimeter, while the blank is still screaming hot and the ink is gassing out.
The key to beating it is to lock that paper down. Use high-temp tape and make sure your design is secured snugly. When you open your press, do it smoothly—don't just fling it open. A sudden jolt can be enough to make the paper slide. For some items, it even helps to let them cool for a few seconds before you peel the paper away. Getting this right is absolutely essential for sharp, professional-looking results.
Here's a pro tip from years of experience: Not all blanks are created equal. A budget tumbler from one supplier might need a few extra seconds compared to a premium one from another. Always, always do a test press when you get a new batch of products.
Seriously, Can I Just Use My Iron for Sublimation?
I get asked this all the time, and I have to give a hard no on this one. Your household iron is great for getting wrinkles out of a shirt, but it's completely wrong for sublimation.
Sublimation requires a very specific, consistent high temperature (we're talking around 400°F) and firm, even pressure across the entire design. An iron just can't deliver either of those things. You'll end up with a blotchy, faded, and frankly, heartbreaking mess. To get those amazing, full-bleed results on something like our sublimatable square neoprene coasters, you absolutely need a proper heat press. It's a non-negotiable tool of the trade.
Ready to create stunning, personalized items? 4ULaserWorks offers high-quality sublimation blanks and precision laser engraving on promotional gifts and personalized drinkware to bring your vision to life. https://4ulaserworks.com
